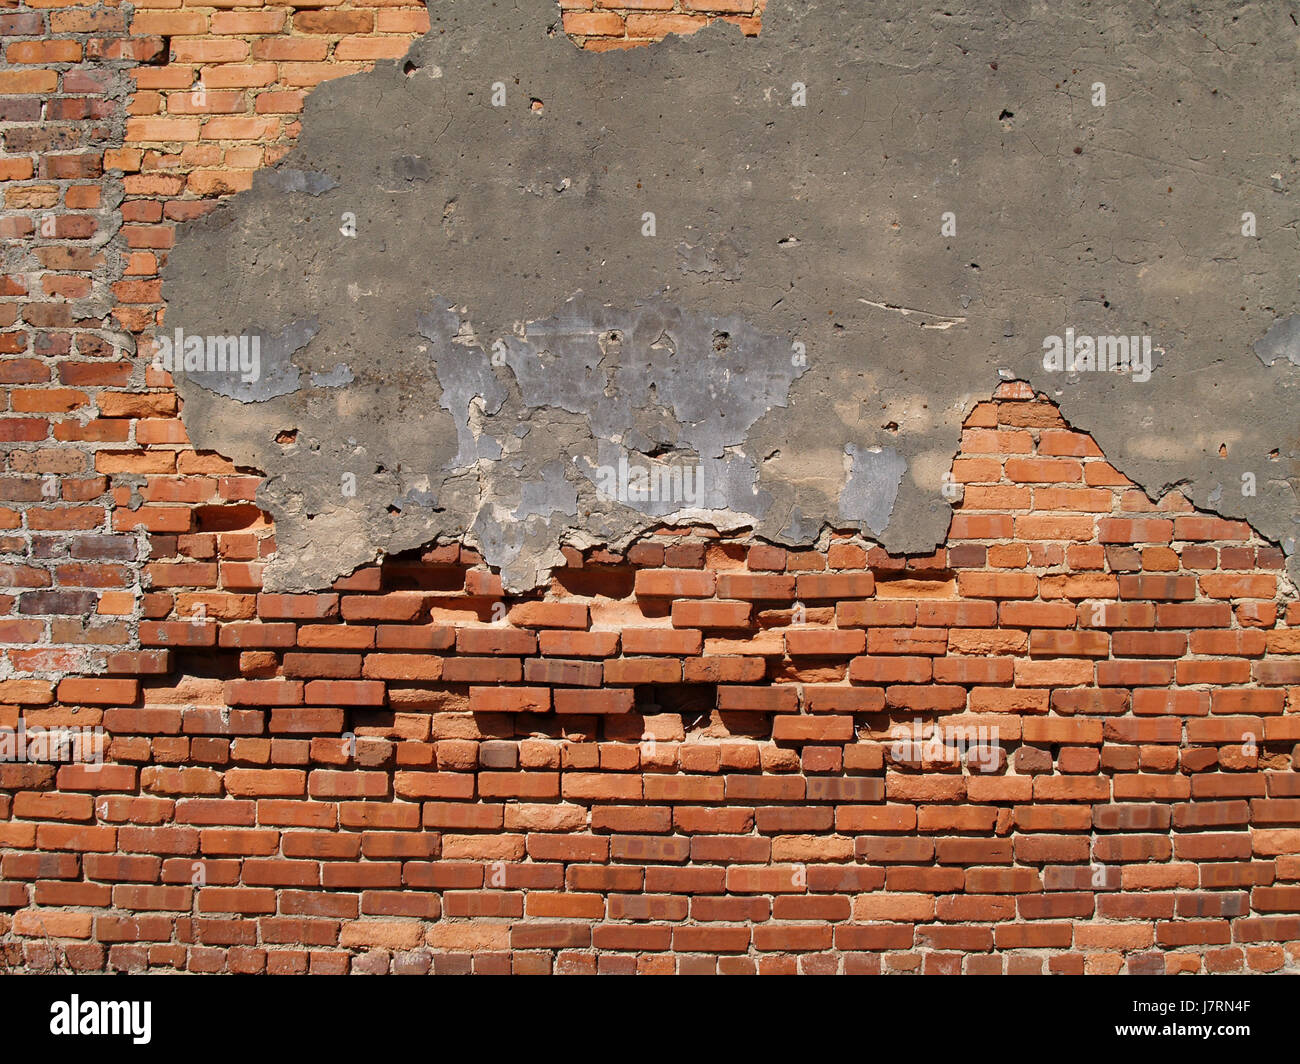
A brick patch is a masonry repair technique used to replace a single damaged, cracked, or crumbling brick within a wall without tearing down the entire structure. By carefully cutting out the old unit, cleaning the cavity, and bedding a new brick in fresh mortar, property owners can restore structural integrity and visual continuity.
Masonry walls are renowned for their strength, longevity, and timeless aesthetic appeal. However, despite their durability, brick structures are not entirely immune to damage. Exposure to harsh freeze-thaw cycles, moisture infiltration, shifting foundations, mechanical impacts, and natural aging can cause individual bricks to crack, spall, or disintegrate. When damage is localized to a few isolated units, demolishing and rebuilding an entire wall is neither practical nor cost-effective. Instead, masonry professionals and skilled DIYers rely on a targeted brick patch—often referred to in the trade as brick replacement or tuckpointing when combined with mortar joint renewal—to resolve the issue.
Executing a proper brick patch requires patience, precision, and the right combination of materials. A poorly executed repair not only stands out like a sore thumb against the surrounding facade but can also trap moisture, leading to further structural decay. This guide explores the complete process of executing a durable, aesthetically pleasing brick patch, from initial diagnosis and safety prerequisites to tool selection, step-by-step execution, and long-term maintenance.
Understanding the Need for a Brick Patch
Before picking up a chisel or a trowel, it is essential to understand why bricks fail and whether a simple patch is sufficient or if a larger structural intervention is required. Bricks typically fail due to moisture dynamics. When water penetrates porous clay bricks and subsequent freezing occurs, the expanding ice exerts immense internal pressure, causing the face of the brick to pop off—a process known as spalling.
Other causes of brick damage include:
- Foundation Settlement: Uneven settling of a building can place shear stress on walls, resulting in diagonal stair-step cracks that run through both the bricks and the mortar joints.
- Efflorescence and Salt Attack: Migrating salts within masonry materials can crystallize just beneath the surface, exerting pressure that crumbles the brick material.
- Incompatible Mortar: Using high-strength Portland cement on historic walls built with soft lime mortar can prevent the masonry from "breathing," forcing moisture to escape through the brick faces rather than the joints.
A brick patch is ideal when the damage is isolated to a few scattered units, while the surrounding masonry remains structurally sound. If more than 15% to 20% of a wall section shows severe degradation, or if cracks run continuously across multiple interconnected bricks, a more extensive structural repair or professional engineering assessment is necessary.
Essential Tools and Materials Checklist
Achieving professional results demands specialized masonry tools. Using makeshift or incorrect equipment can damage adjacent bricks, compromise the mortar bond, or create safety hazards. Gathering all materials beforehand ensures a smooth workflow once the old masonry is disturbed.
Tools Required
- Angle Grinder: Fitted with a diamond masonry blade for cutting out old mortar joints cleanly.
- Cold Chisel and Mason's Hammer: For breaking out the damaged brick and clearing debris from the cavity.
- pointing Trowel: For applying mortar to the bed and head joints.
- Brick Jointer (Slicker or Concave Iron): To match the profile of the surrounding mortar joints (e.g., concave, V-joint, weathered, or raked).
- Masonry Brush: A stiff-bristled brush for cleaning dust and loose particles, and for finishing the mortar joints.
- Safety Gear: Safety glasses, heavy-duty work gloves, a dust mask or respirator (silica dust hazard), and ear protection.
- Sponge and Bucket: For dampening the cavity and cleaning up mortar smears.
Materials Required
- Replacement Bricks: Sized, colored, and textured to match the existing bricks as closely as possible. Reclaimed antique bricks are often necessary for older historic buildings.
- Masonry Sand: Clean, well-graded sand (often ASTM C144 sand).
- Cement / Lime: Type N or Type S mortar mix, or a custom blend of masonry cement and hydrated lime tailored to match the compressive strength and color of the original mortar.
- Water: Clean, potable water for mixing mortar and dampening the work area.
| Material / Tool Component | Function in a Brick Patch | Selection Consideration |
|---|---|---|
| Diamond Masonry Blade | Cuts through hard mortar joints safely. | Use a wet/dry continuous rim or segment blade sized for your angle grinder. |
| Type N / Type S Mortar | Binds the new brick to the surrounding structure. | Match the compressive strength and color of the existing mortar; avoid over-strong mixes on old walls. |
| Replacement Brick | Replaces the compromised unit structurally and aesthetically. | Must match dimensions (modular, standard, queen, etc.), color, absorption rate, and texture. |
| Brick Jointer | Shapes the wet mortar to replicate neighboring joints. | Select the profile (concave, flush, beaded) that matches the rest of the wall. |
Step-by-Step Execution of a Brick Patch
Executing a brick patch is a meticulous process that bridges manual labor and craftsmanship. Rushing any single step can result in a weak bond, water leakage, or an unsightly blemish on the building's facade.
Step 1: Safety Preparations and Workspace Setup
Masonry cutting generates significant quantities of respirable crystalline silica dust, which is hazardous to human lungs. Always wear an N95 or P100 respirator and protective eyewear before operating power tools. Clear the immediate work zone and protect nearby windows, doors, or landscaping with drop cloths.
Step 2: Removing the Damaged Brick and Mortar
Using the angle grinder equipped with a diamond blade, carefully cut out the mortar joints surrounding the damaged brick on all four sides (top, bottom, left, and right). Take care not to overcut into the corners of adjacent bricks, as overcutting weakens neighboring structural units.
Once the surrounding mortar is cleared to a depth matching the brick's thickness (typically 3.5 inches for standard modular bricks), insert a cold chisel into the center of the damaged brick and strike it firmly with a mason's hammer. The brick should fracture and break apart, allowing you to pull the pieces out piece by piece.
Step 3: Cleaning and Preparing the Cavity
Thoroughly scrape out any remaining old mortar, dust, and debris from the exposed cavity using the cold chisel and a wire brush. The inner pocket must be completely clean to allow the new mortar to bond effectively.
Once cleared, use a masonry brush or a spray bottle to dampen the cavity and the surrounding bricks with clean water. This prevents the dry existing bricks from aggressively sucking moisture out of the fresh mortar mix, which would otherwise cause the mortar to cure too quickly and crack.
Step 4: Mixing the Mortar
Prepare your mortar mix in a clean bucket or wheelbarrow. If matching an existing historical wall, a custom blend of masonry cement and hydrated lime may be required to replicate both the color and flexibility of the original mortar. Mix the dry ingredients thoroughly before adding water gradually. The ideal consistency resembles thick peanut butter or stiff cookie dough—it should hold its shape on a tilted trowel without slumping or crumbling.
Step 5: Setting the New Brick
Apply a generous, uniform bed of fresh mortar (approximately 3/8 inch thick) to the bottom and back of the cleaned cavity. Butter the back and top edges of the replacement brick with mortar as well.
Carefully push the new brick straight into the cavity. Tap it gently with the handle of your mason's trowel or a rubber mallet until it is flush and plumb with the surrounding brick face. Ensure the joint widths on all four sides match the surrounding masonry (typically 3/8 inch).
Step 6: Pointing and Tooling the Joints
Using a pointing trowel, pack additional mortar into any remaining gaps around the perimeter of the new brick, ensuring there are no voids where water could penetrate. Allow the mortar to set partially until it reaches a thumbprint-hard consistency (usually 30 to 60 minutes, depending on weather conditions).
Once firm, use the appropriate brick jointer to tool the mortar joints, compressing the surface to seal out moisture and match the profile of the surrounding wall. Finally, brush away any loose crumbs of mortar with a soft masonry brush. Avoid wiping the fresh joints with a wet sponge too early, as this can stain the brick face and bleed color out of the mortar.
Matching Bricks and Mortar: The Secret to an Invisible Repair
The hallmark of a professional brick patch is invisibility—a casual observer should not be able to tell where the repair was made. Achieving this requires meticulous attention to material matching.
- Brick Dimensions and Texture: Bricks vary widely in size based on regional and historical manufacturing standards. A standard modern U.S. modular brick measures 2-1/4" x 3-5/8" x 7-5/8", but older homes may use imperial, Roman, or Chicago common bricks. Furthermore, the surface texture—whether smooth, wire-cut, sand-finished, or tumbled—must match.
- Color and Aging: Brand-new bricks will often look out of place next to weathered masonry that has been exposed to decades of UV radiation, pollution, and biological growth. Sourcing salvaged or reclaimed bricks is often the best strategy for older structures. Alternatively, masonry stains can be applied to tone down a replacement brick to match its neighbors.
- Mortar Color Matching: Mortar color changes dramatically as it cures. Never judge a mortar mix while it is wet. Always create a small sample board, let it dry for 48 to 72 hours, and compare it directly against the dry wall before committing to the entire patch.
Common Mistakes to Avoid During Masonry Repair
Even experienced DIYers can encounter setbacks when performing masonry repairs. Avoiding these frequent pitfalls ensures long-lasting structural integrity:
- Using Too Hard a Mortar: Modern high-strength Portland cement mixes (like Type M) are far too rigid for historic brick walls. Using a mortar stronger than the surrounding brick forces thermal expansion stresses directly into the soft clay units, causing them to crack. Always match or step down the mortar strength appropriately.
- Failing to Dampen the Bricks: Skipping the pre-wetting phase draws moisture out of the mortar too rapidly, resulting in a weak, crumbly bond prone to water infiltration.
- Overcutting Mortar Joints: Extending angle grinder cuts past the corners of the brick leaves unsightly scarring on adjacent units and compromises their structural edges.
- Rushing the Tooling Process: Tooling mortar while it is still too wet causes smears and surface staining, while tooling it when completely dry prevents a proper weather-tight seal.
Maintenance and Long-Term Care for Repaired Masonry
Once your brick patch has cured for at least 7 to 10 days, protect your investment with appropriate ongoing maintenance. Avoid applying film-forming waterproof sealers or paints to brickwork unless specifically required; these coatings can trap rising dampness inside the wall, leading to freeze-thaw spalling. Instead, if moisture protection is necessary, consult a professional regarding breathable, silane-siloxane-based masonry water repellents. Inspect your patched areas annually for hairline cracking or efflorescence, addressing minor maintenance needs before they escalate into major structural repairs.
Frequently Asked Questions About Brick Patches
Can I use exterior construction adhesive instead of mortar for a brick patch?
No. Construction adhesive is not a substitute for mortar in masonry construction. Mortar provides structural load distribution, vapor permeability, and dimensional stability that adhesives cannot replicate. Using glue will trap moisture and cause adjacent units to fail prematurely.
How long does a brick patch take to dry and cure?
Mortar typically sets enough to tool within 30 to 60 minutes under normal weather conditions. However, complete curing—the chemical process where cement hardens and gains full strength—takes approximately 28 days. Protect fresh patches from freezing temperatures and heavy rain during the first 48 hours.
What should I do if I cannot find an exact match for my old bricks?
If matching bricks are unavailable commercially, look for architectural salvage yards or brick matching services. As a last resort, damaged bricks from less visible areas of the property (such as behind a downspout or garage lean-to) can be harvested and relocated to the prominent repair site, backfilling the hidden spot with a serviceable substitute.
Is a brick patch suitable for fixing major structural cracks?
No. A brick patch is strictly a localized cosmetic and minor structural fix for isolated damaged units. If a crack runs diagonally across multiple bricks and mortar joints or shows signs of displacement, it indicates foundation movement or structural settling that requires evaluation by a structural engineer.
How much does professional brick patching cost?
Professional masonry repair costs vary based on regional labor rates, accessibility, and the number of units requiring replacement. Generally, hiring a mason to replace a handful of damaged bricks ranges from $200 to $600, whereas DIY costs are limited to materials and tool rentals, typically under $100.
Conclusion and Next Actions
Executing a successful brick patch transforms a crumbling, vulnerable section of masonry back into a strong, attractive element of your property's exterior. By carefully assessing the damage, gathering the correct specialized tools, matching your materials, and executing each step with patience, you can achieve professional-grade results. For your next steps, inspect your masonry facade thoroughly to identify all isolated problem areas, gather your matching samples, and begin your repair during a period of dry, moderate weather for optimal mortar curing.