Installing underfloor heating on a concrete slab transforms a traditionally cold, dense surface into an efficient, radiant thermal plane. Whether renovating an existing basement or constructing a modern living space in 2026, combining hydronic or electric systems with concrete requires meticulous preparation, moisture management, and precise insulation to prevent heat loss downward and maximize indoor comfort.
Understanding Concrete as a Subfloor for Radiant Heating
Concrete slabs possess high thermal mass, meaning they absorb, store, and slowly release heat. While this characteristic makes concrete an exceptional partner for radiant heating systems once warmed, it also presents unique challenges during installation. Concrete is inherently porous and prone to capillary moisture wicking from the ground below. Without proper damp-proofing and sub-floor insulation, thermal energy will bleed downward into the earth rather than rising upward into the living space.
Both hydronic (water-based) and electric mat systems can be successfully deployed over concrete, but the structural profile, ceiling height limitations, and existing floor level dictate the exact methodology required. Understanding how concrete interacts with temperature fluctuations ensures that the finished floor remains stable, crack-free, and energy-efficient over decades of operation.
Pre-Installation Assessment and Site Preparation
Before laying down any heating elements or insulation panels, the concrete subfloor must undergo rigorous diagnostic checks. Skipping these preparatory steps risks system failure, tile cracking, or moisture-induced floor covering degradation.
Moisture Testing and Vapor Retarders
Concrete slabs must be thoroughly tested for moisture emission rates. High residual moisture or active hydrostatic pressure will destroy adhesives, warp engineered wood, and foster mold growth beneath impermeable floor coverings.
- Relative Humidity (RH) Testing: Standard ASTM F2170 in-situ probe testing should be performed to measure internal slab humidity. Most flooring manufacturers and heating system guidelines require RH levels to remain below 75% to 85% depending on the chosen finish.
- Calcium Chloride Testing: Alternatively, ASTM F1869 tests measure moisture vapor emission rates (MVER) over a 24-hour period.
- Vapor Barriers: If testing reveals high moisture or if the slab lacks an intact sub-slab vapor retarder, a liquid-applied epoxy moisture mitigation system or heavy-duty polyethylene sheet must be installed above the concrete prior to adding insulation or heating loops.
Surface Leveling and Cleaning
A flat, debris-free surface is mandatory. High spots can pinch electric cables or create air pockets under hydronic panels, while low spots can pool self-leveling compounds unevenly.
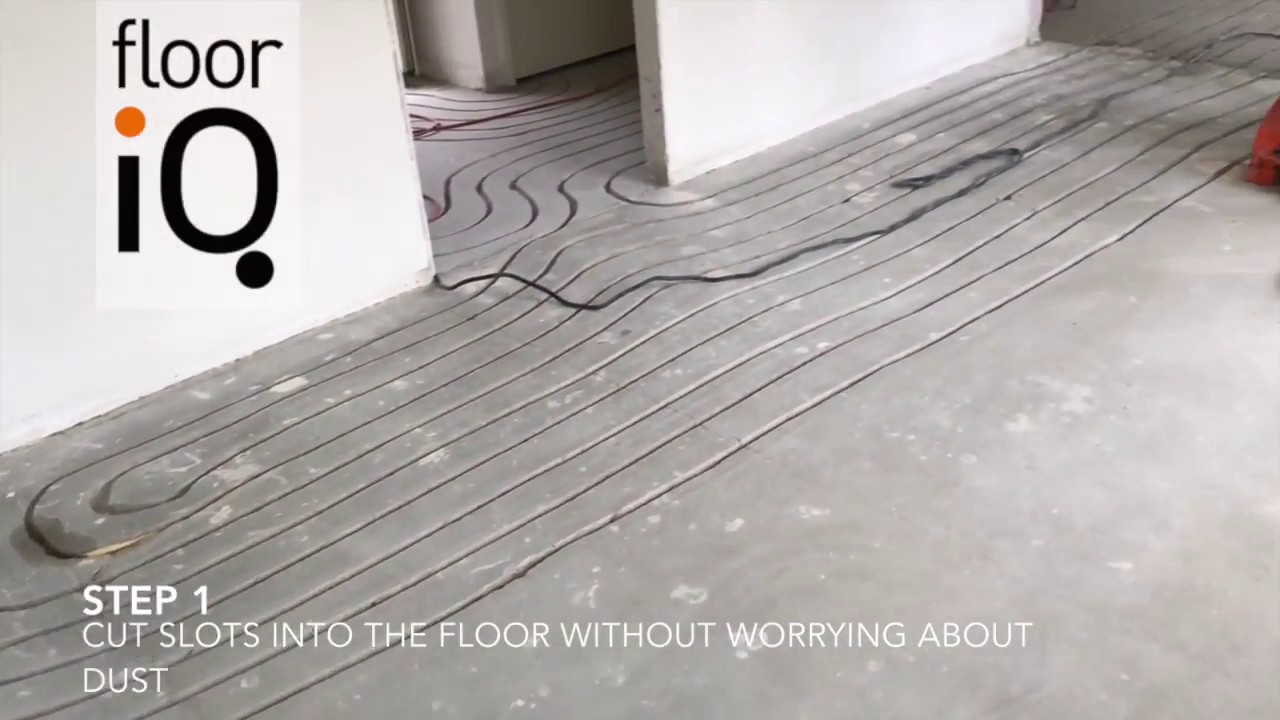
- Remove all paint, sealers, curing compounds, dust, and grease using mechanical grinding or shot-blasting if necessary.
- Fill cracks, expansion joints, and surface depressions using a manufacturer-approved polymer-modified patch or self-leveling underlayment.
- Verify flatness using a 10-foot straightedge; deviations should generally not exceed 1/8 inch over a 10-foot span.
Selecting the Right System: Hydronic vs. Electric
Choosing between hydronic and electric underfloor heating depends on project scale, energy sources, existing floor height allowances, and budget.
| Feature | Hydronic (Water-Based) Systems | Electric Mat / Cable Systems |
|---|---|---|
| Primary Energy Source | Boiler, heat pump, solar thermal, or district heat | Electricity |
| Installation Profile | Higher profile (2 to 4 inches including screed/panels) | Low profile (1/8 to 1/2 inch including thin-set) |
| Best Suited For | New builds, whole-house heating, large open areas | Retrofits, bathrooms, kitchens, single rooms |
| Initial Capital Cost | Higher equipment and installation costs | Lower upfront material and labor costs |
| Operating Cost | Generally lower long-term, especially with heat pumps | Can be higher depending on local electricity tariffs |
| Thermal Response Time | Slower (due to mass of surrounding screed/concrete) | Faster (heats up rapidly from surface level) |
Step-by-Step Installation Process for Concrete Subfloors
While specific instructions vary by manufacturer and system type, successful installation over concrete generally follows a structured chronological sequence.
Step 1: Edge Insulation and Perimeter Expansion
Because concrete expands and contracts with thermal shifts, perimeter insulation barrier strips (typically 5mm to 10mm thick foam) must be installed along the base of all walls and fixed architectural elements. This prevents lateral heat transfer into the walls and accommodates thermal expansion of the screed or leveling compound.
Step 2: Installing Thermal Insulation Boards
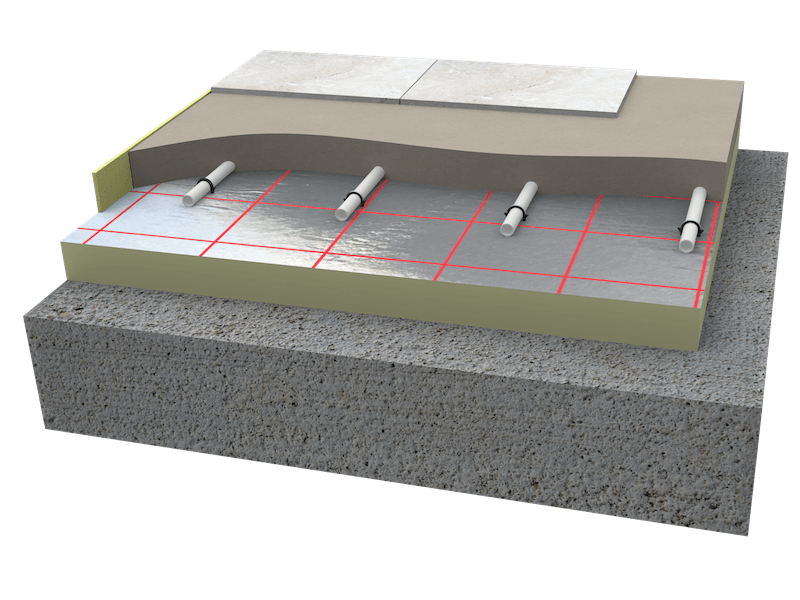
Placing rigid insulation boards (such as extruded polystyrene - XPS or high-density polyurethane) directly onto the concrete is critical.
- Purpose: Directs heat upward into the room by stopping thermal bridging into the cold ground.
- R-Value: Select insulation with an appropriate thermal resistance rating as recommended by local building energy codes.
- Foil Facing: Many panels feature a reinforced multi-layer foil face that helps distribute radiant heat evenly and acts as an additional vapor deterrent.
Step 3: Laying the Heating Elements
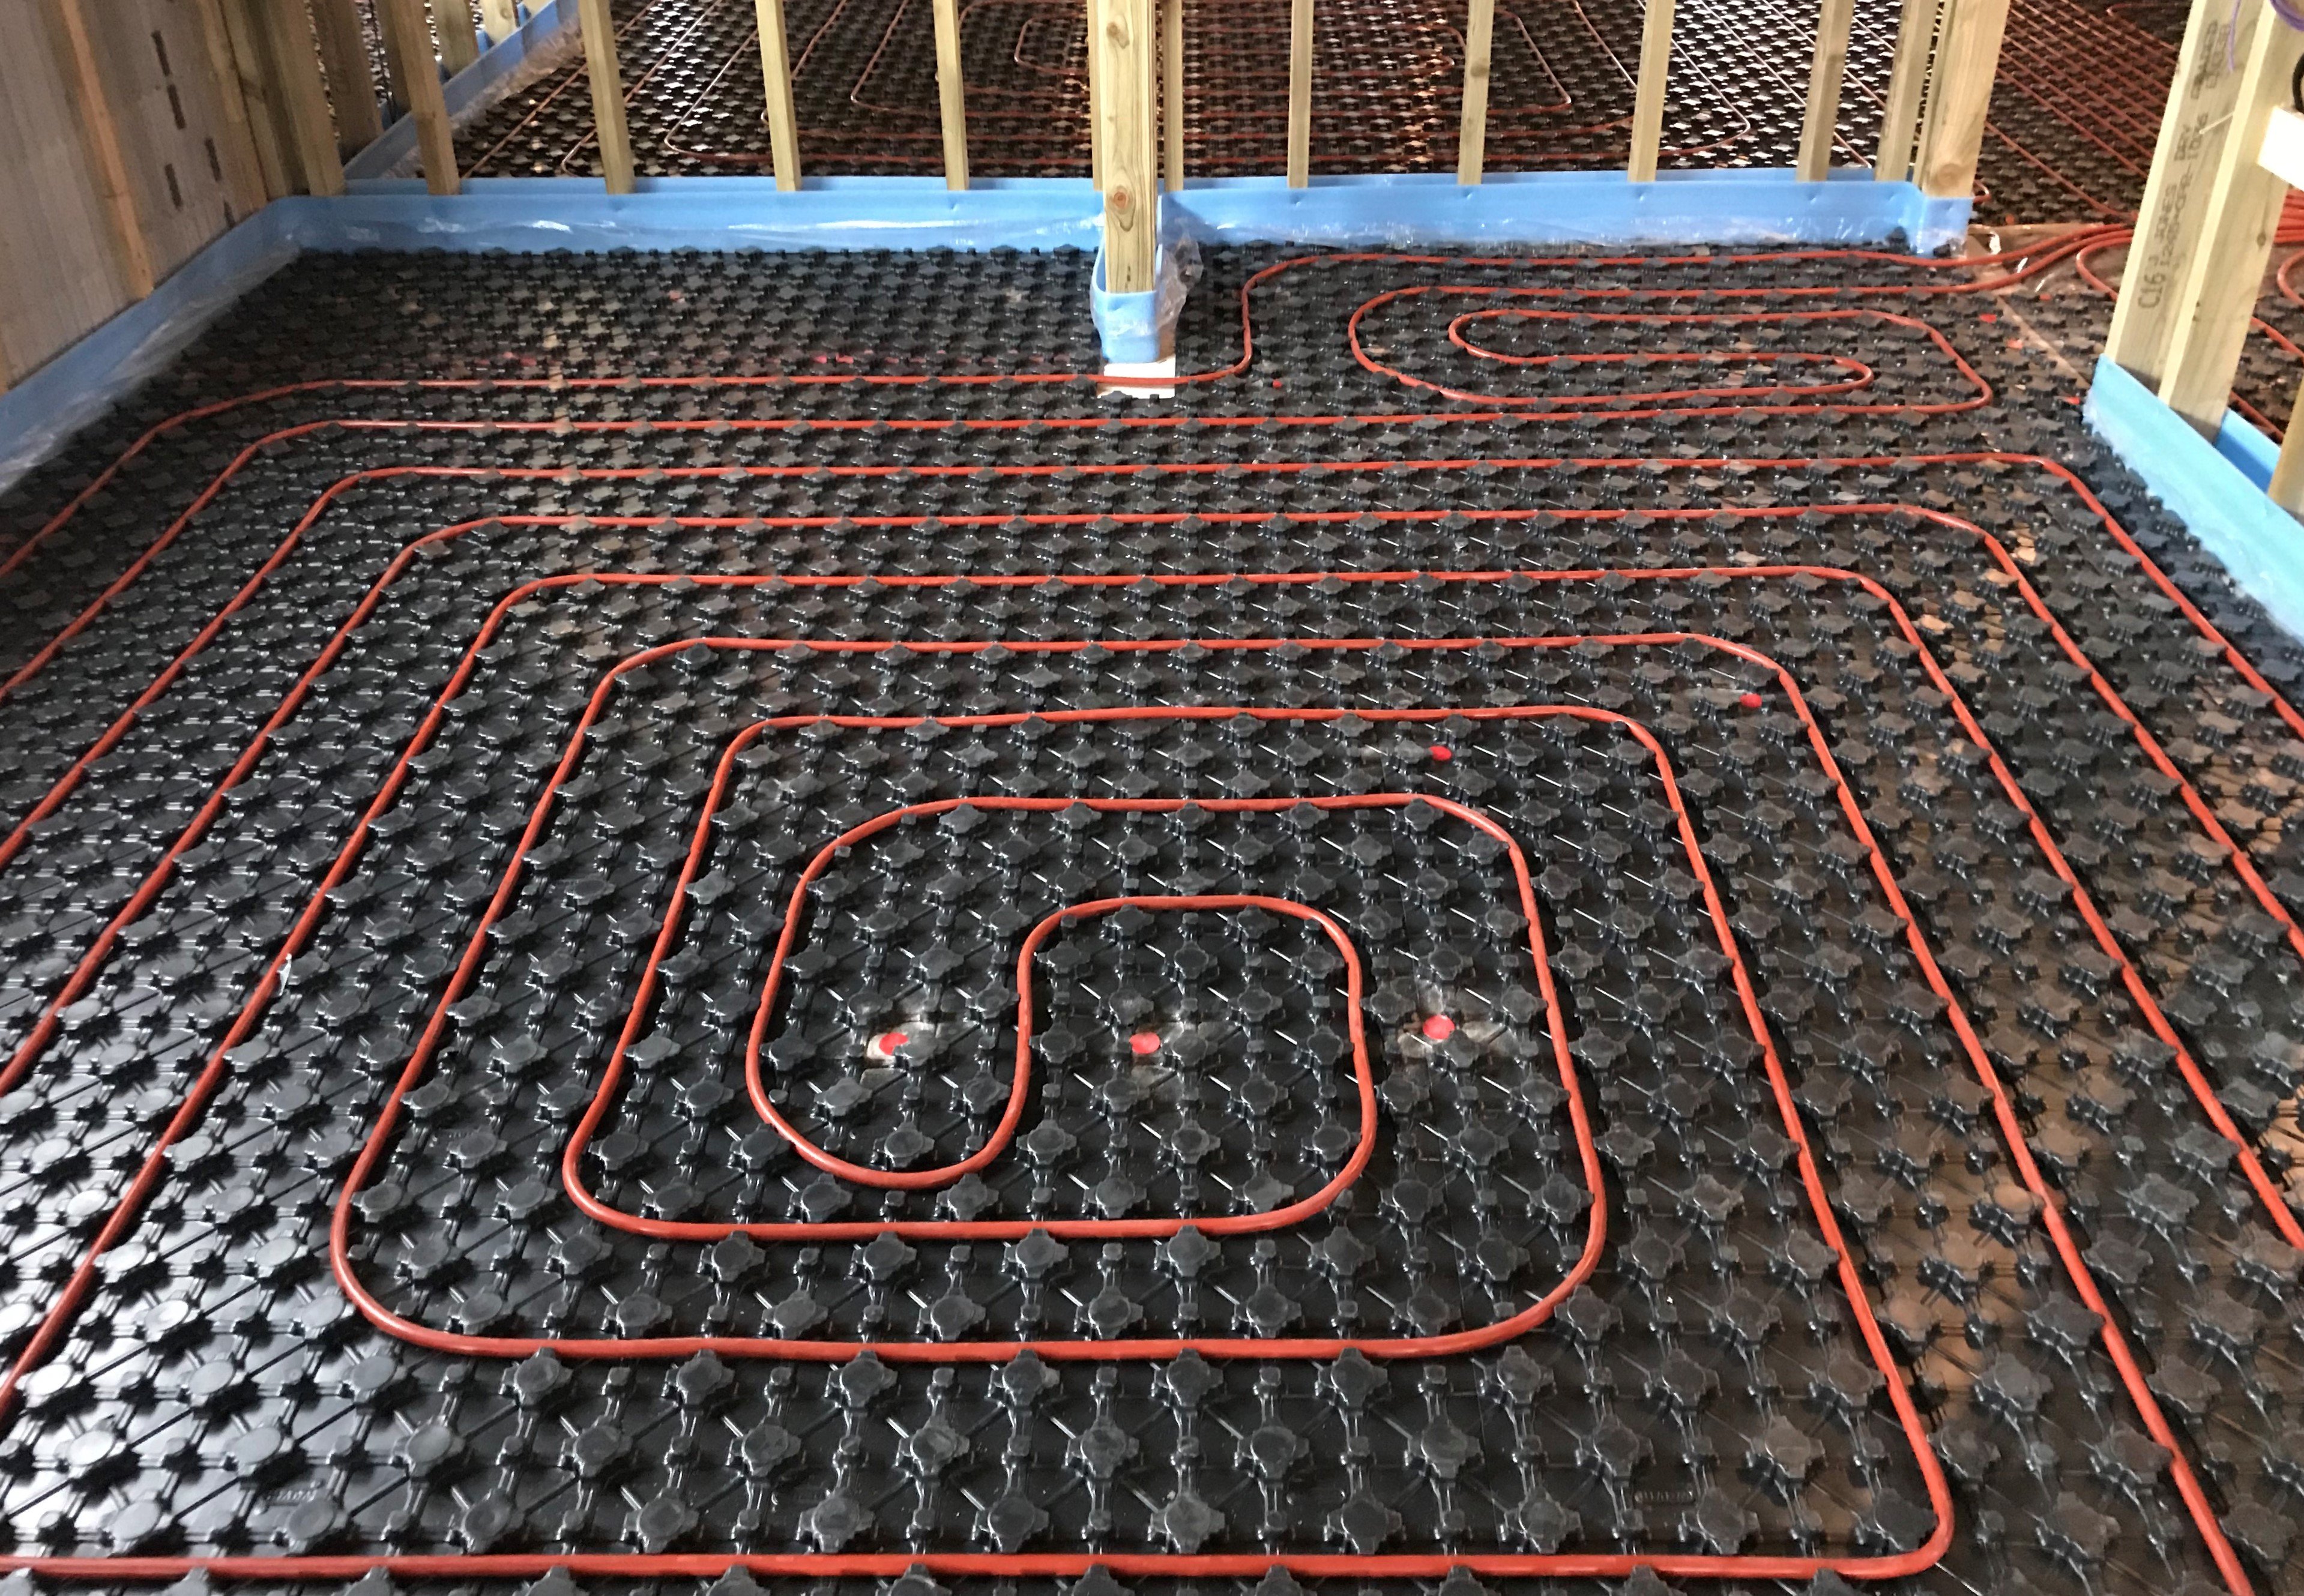
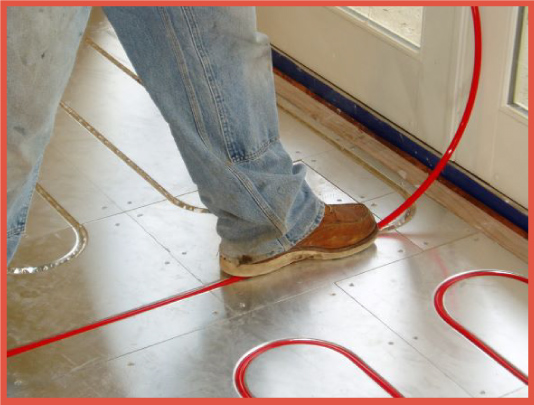
- For Hydronic Systems: Secure PEX (cross-linked polyethylene) or PE-RT tubing onto studded insulation panels, clip rails, or wire mesh following a pre-engineered design layout (serpentine or snail-shell/perimetral pattern). Maintain consistent spacing (typically 4 to 12 inches) to avoid hot and cold spots.
- For Electric Systems: Roll out electric heating mats or layout loose cables in a serpentine configuration over a primed insulation backer board or uncoupling membrane. Use a digital multimeter to measure resistance before, during, and after installation to verify the cable remains intact.
Step 4: Embedding and Encapsulation
Once pressure testing (for hydronic) or resistance testing (for electric) is complete, the system must be embedded in a protective thermal medium.
- Hydronic Screed: Pour a self-leveling gypsum-based or cementitious screed over the PEX tubing, ensuring total encapsulation without air voids. The standard depth over the top of the tubes is typically 1 inch to 1.5 inches.
- Electric Thin-Set: Trowel a polymer-modified tile mortar directly over the electric heating mats, taking care not to nick the cables with notched trowels. Alternatively, pour a self-leveling underlayment designed specifically for electric radiant floors.
Flooring Compatibility and Thermal Resistance
The final floor covering directly influences system efficiency and performance. Different materials possess different thermal conductivities ($\lambda$-values), measured in Watts per meter-Kelvin ($W/mK$). Materials with high conductivity transfer heat rapidly, while dense insulators impede heat transfer.
- Ceramic and Porcelain Tile: The gold standard for underfloor heating. Tile offers exceptional thermal conductivity, warms up quickly, and retains heat efficiently.
- Natural Stone: Granites, slates, and limestones conduct heat even faster than ceramic tiles, though they can feel colder when the system is switched off.
- Engineered Wood: Highly compatible, provided it is rated for underfloor heating and kept within manufacturer-specified temperature limits (usually surface temperatures should not exceed 27°C / 80°F to prevent cupping or drying out). Solid wood is generally discouraged due to high susceptibility to moisture and temperature-induced dimensional changes.
- Laminate and Luxury Vinyl Tile (LVT): Suitable if certified by the manufacturer as thin enough and thermally stable under elevated floor temperatures. Always check maximum allowable thermal resistance ($R$-value) limits for soft and resilient floor coverings.
Common Installation Mistakes to Avoid
- Skipping Edge Insulation: Omitting perimeter foam leads to cold floor edges near walls and structural cracking as the floor heats up and expands.
- Failing Pressure or Continuity Tests: Filling a hydronic screed or pouring self-leveling mortar over a damaged or un-pressurized line creates catastrophic repair scenarios. Always keep hydronic systems under pressure (air or water) during the entire pouring process.
- Ignoring Curing Times: Turning on a newly poured screed or concrete layer too quickly causes rapid moisture evaporation, leading to severe cracking and structural weakness. Follow strict curing schedules—often waiting 21 to 28 days for traditional concrete/screed before initiating a slow, incremental warm-up protocol.
- Incorrect Sensor Placement: For electric systems, the floor temperature sensor probe must be placed precisely equidistant between two heating cable runs inside a protective conduit, avoiding contact with the cables themselves.
Frequently Asked Questions
Can underfloor heating be installed directly on top of an existing concrete slab without insulation?
While physically possible, it is highly discouraged. Laying heating elements directly onto bare concrete without thermal insulation results in substantial downward heat loss into the ground, drastically increasing energy consumption and slowing the warm-up response time of the room.
How high will the floor level rise when adding underfloor heating to a concrete slab?
The height increase depends entirely on the chosen system. Electric mat systems combined with thin uncoupling membranes add as little as 1/8 inch to 1/4 inch. Hydronic systems utilizing low-profile panels and thin screeds typically add 1 inch to 2 inches, while traditional wet-screed hydronic installations can require 2 to 4 inches of total buildup.
What is the maximum temperature a floor covering can reach with underfloor heating?
For most floor coverings—particularly wood, laminate, and luxury vinyl tiles—the surface temperature should not exceed 27°C (80°F). Exceeding this limit can dry out adhesives, warp wood planks, or degrade resilient synthetic flooring materials. Ceramic tile and stone floors can tolerate higher surface temperatures safely.
How long must I wait before turning on underfloor heating after pouring a new screed over concrete?
You must allow the leveling compound or screed to cure fully before activating the heating system. For cementitious screeds, this typically takes 21 to 28 days. Once cured, initiate a commissioning protocol by turning the water or thermostat temperature up by no more than 5°C per day until operating temperature is reached.
Can underfloor heating be the sole primary heat source in a room with a concrete floor?
Yes, provided the building is adequately insulated according to modern energy efficiency standards. Because concrete slabs hold and radiate heat steadily, radiant floors easily maintain comfortable ambient room temperatures without supplemental baseboard heaters or radiators, assuming heat loss calculations justify the system output.
Conclusion and Next Actions
Installing underfloor heating on a concrete floor requires careful planning, moisture verification, and precise adherence to layer sequencing. Begin your project by performing a thorough moisture test on your concrete slab and calculating the available height clearance in your space. Consult with a licensed HVAC engineer or certified flooring specialist to select between hydronic and electric options, ensuring your final floor covering matches your thermal output requirements for efficient, long-lasting comfort.