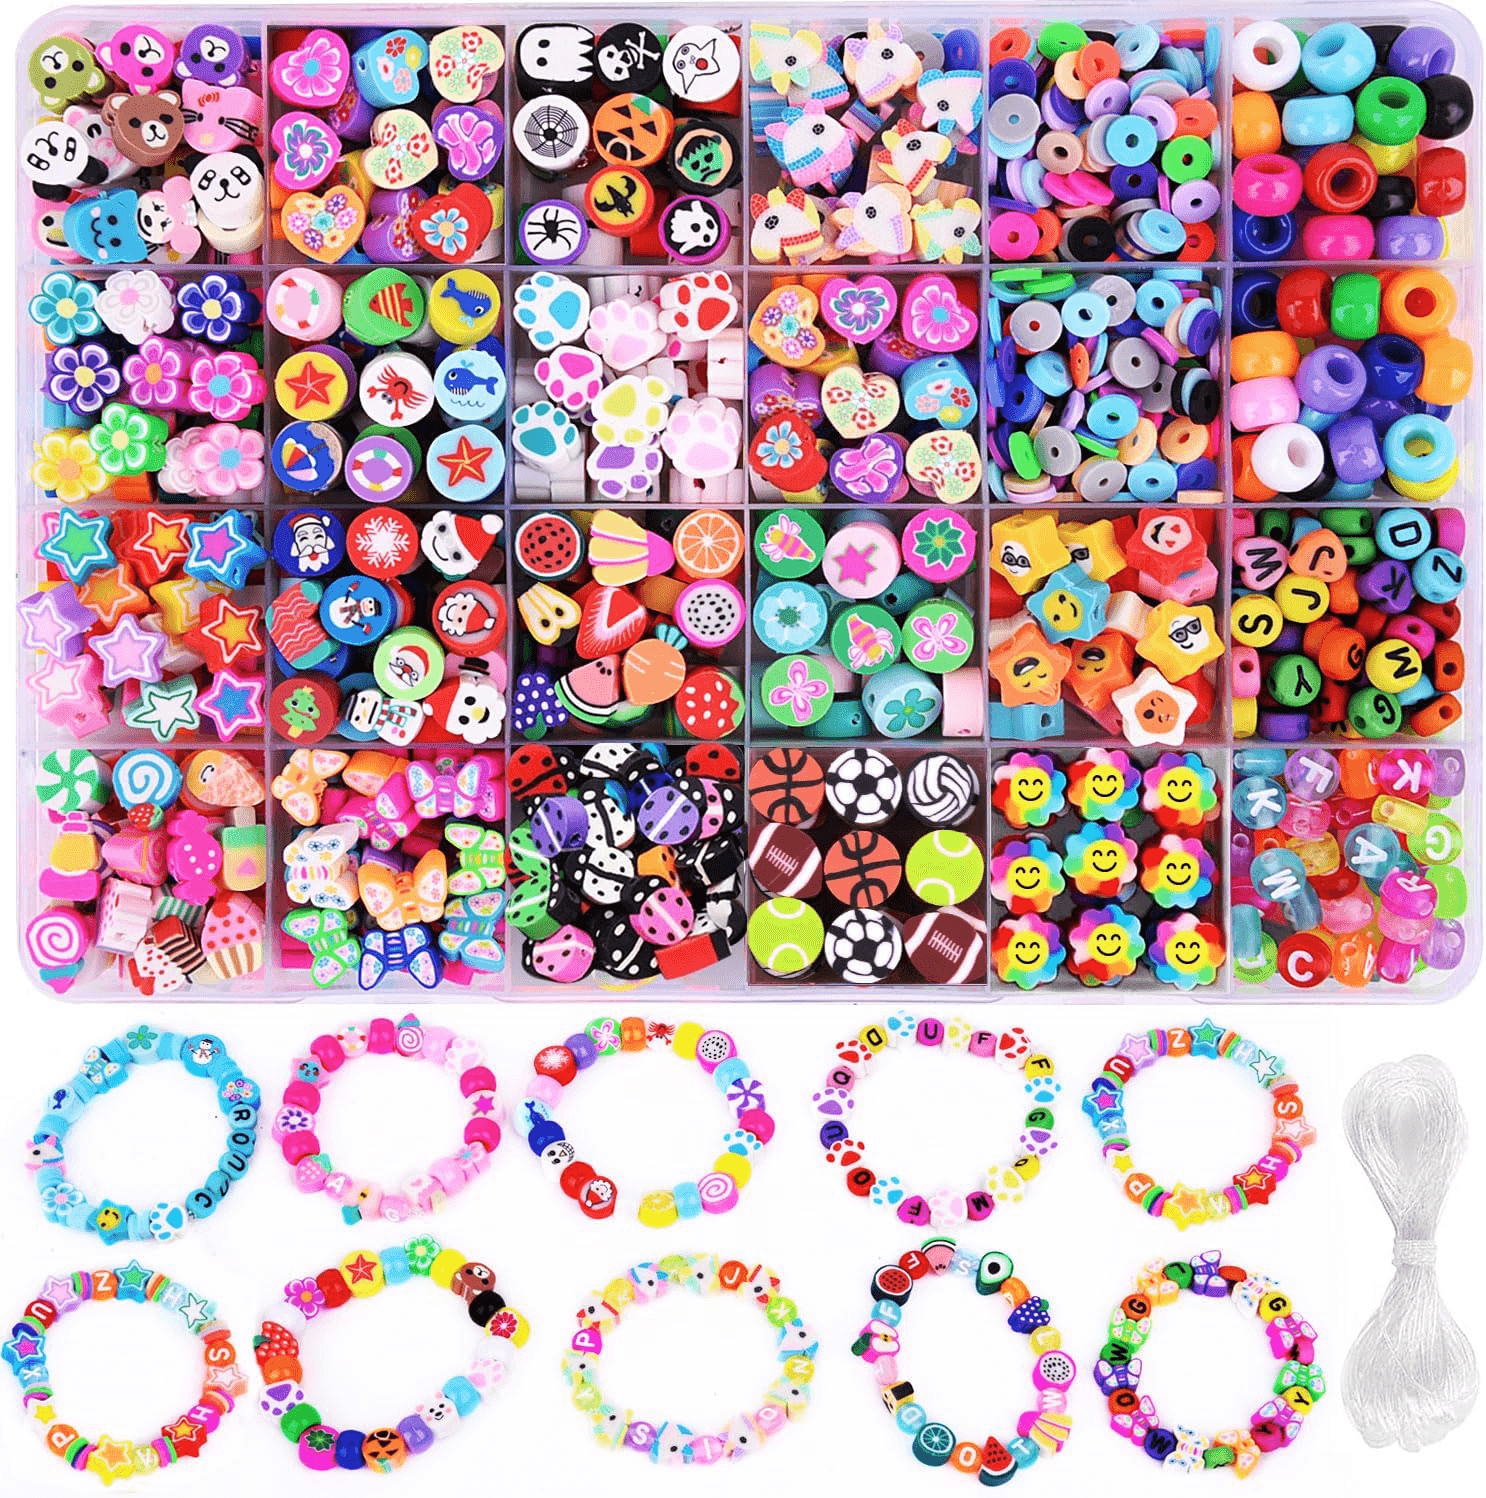
Bead crafts encompass a diverse range of artistic and functional practices that involve piercing and assembling beads using thread, wire, cord, or loom structures to create jewelry, home decor, and wearable art. By combining varied materials like glass, gemstone, and metal with time-honored stitching and stringing techniques, crafters transform loose elements into intricate, personalized finished pieces.
Introduction to Bead Crafts and Materials
The world of bead crafts is vast, combining history, mathematics, and fine motor skills. Whether you are stringing simple wooden beads onto elastic for a beginner bracelet or executing a complex, multi-needle peyote stitch with delicate Japanese cylinder beads, the craft offers infinite pathways for creative expression. Approaching bead crafts successfully requires understanding the foundational materials, tools, and structural principles that govern how beads interact with one another.
Every successful bead project begins with selecting the correct components. The market offers a dizzying array of beads, threads, and findings. Knowing the properties of each material ensures your finished creations are not only aesthetically pleasing but durable enough to withstand regular wear or handling.
Understanding Bead Types and Sizes
Beads are categorized by material, shape, manufacturing method, and size. The most common varieties include seed beads, glass beads, gemstone chips, wooden beads, and metal accents.
- Seed Beads: These are small, uniformly shaped glass beads typically used for off-loom weaving, embroidery, and fringe. They are categorized by size numbers (such as 11/0 or 15/0), where a larger number indicates a smaller bead size.
- Cylinder Beads: Brands like Miyuki (Delica) and Toho (Treasures) manufacture precision-cut cylinder beads. Their uniform shape allows them to lock together tightly in flat or tubular stitches, creating a smooth, mosaic-like finish.
- Gemstone and Mineral Beads: Valued for their natural beauty and metaphysical properties, stones like turquoise, amethyst, quartz, and jasper add weight, value, and earthy elegance to jewelry designs.
- Pressed and Fire-Polished Glass: Manufactured primarily in the Czech Republic, these beads come in diverse shapes like daggers, rounds, and faceted fire-polished styles that catch the light brilliantly.
Essential Tools and Stringing Materials
Having the right tools prevents frustration and ensures structural integrity. A basic bead craft toolkit should include:
- Beading Needles: Flexible, thin needles such as collapsible eye needles or English beading needles (sizes 10 to 12) that can pass through bead holes multiple times.
- Pliers: A trio of flat-nose, chain-nose, and round-nose pliers, alongside a sharp pair of flush cutters for trimming wire and thread.
- Thread and Cord: Options range from monofilament nylon and elastic cord for simple stringing to specialized braided threads like FireLine, Nymo, and WildFire for intricate bead-weaving.
- Beading Mats: Flocked or rubberized surfaces that keep rolling beads contained while you work.
Core Techniques in Bead Crafts
Mastering bead crafts relies on understanding a few foundational techniques. While hundreds of specialized stitches exist, most projects build upon stringing, basic wirework, or core bead-weaving stitches.
Stringing and Securing Finishes
Stringing is the most accessible entry point. It involves threading beads onto a flexible wire (such as Beadalon) or cord and securing the ends using crimp beads or specialized knots.
- Using Crimp Beads: Thread a crimp tube onto your wire, loop the wire through a clasp or guardian, and pass it back down through the crimp tube. Use flat-nose pliers or a crimping tool to squeeze the tube flat, locking the wire in place. Cover the flattened crimp with a crimp cover for a professional, rounded look.
- Knotting Between Beads: For silk or nylon cord, particularly with heavier gemstone or pearl strands, tying an overhand knot between each bead prevents the entire strand from spilling if the cord breaks, and allows the jewelry to drape fluidly.
Foundational Bead-Weaving Stitches
Off-loom bead weaving utilizes a needle and thread to stitch seed beads together into structured fabric.
- Peyote Stitch: Often called the gourd stitch, peyote creates a brick-like offset pattern. It can be worked in flat strips, tubular formations for bangles, or shaped to encase cabochons.
- Brick Stitch: Visually similar to peyote when finished, brick stitch features rows stacked like bricks in a wall. It is frequently used for creating dangling earrings and fringe elements because the foundation row provides immense stability.
- Square Stitch: This stitch mimics the look of a loom-woven piece but is worked entirely by hand with a single needle and thread, resulting in a firm, grid-like fabric.
| Technique | Primary Use Case | Recommended Thread/Wire | Difficulty Level |
|---|---|---|---|
| Simple Stringing | Necklaces and stretch bracelets | Beading wire or elastic cord | Beginner |
| Peyote Stitch | Flat bands, cuffs, and amulet bags | FireLine or Nymo | Intermediate |
| Brick Stitch | Fringe earrings, shaped pendants | Nymo or WildFire | Intermediate |
| Wire Wrapping | Cabochon settings, rigid components | Dead soft copper or sterling wire | Advanced |
Step-by-Step Guide: Creating Your First Beaded Bracelet
To solidify these concepts, let us walk through creating a professional-grade gemstone and wire-accented stretch bracelet. This project requires minimal tools and yields a durable, wearable accessory.
Prerequisites and Preparation
Gather your materials:
- Approximately 30-40 8mm gemstone beads (e.g., Howlite or Jasper).
- 0.8mm stretch elastic cord (such as Stretch Magic).
- Bead stopper or a piece of tape.
- Strong craft glue (like GS Hypo Cement).
- Sharp scissors.
Step 1: Measure and Cut the Elastic
Measure your wrist circumference and add 6 inches to allow for comfortable handling and secure knotting. Cut a single piece of elastic cord to this length. Stretch the cord gently beforehand to remove any factory slack, which prevents your bracelet from loosening over time.
Step 2: Secure the End
Attach a bead stopper or tie a temporary knot about 3 inches from one end of the elastic cord to prevent beads from sliding off while you work.
Step 3: Thread the Beads
Begin stringing your gemstone beads onto the cord in your desired color sequence or pattern. Periodically wrap the unfinished strand around your wrist to check the fit. Ensure you leave about 1.5 inches of empty elastic at each end for tying off.
Step 4: Tie the Surgeon’s Knot
Remove the bead stopper. Bring the two ends of the elastic together and tie a surgeon’s knot: cross the ends, loop one end under and through twice (like a standard knot with an extra twist), pull snug, then cross the opposite way and tie a standard square knot. Pull firmly to lock the knot in place.
Step 5: Secure and Conceal
Apply a tiny drop of craft glue to the knot to prevent slipping. Allow the glue to dry completely according to the manufacturer's instructions. Once dry, carefully trim the excess tails, leaving about 1/8 inch of cord, and slide the knot inside the hole of a neighboring larger bead to hide it.
Troubleshooting Common Beading Challenges
Even experienced crafters encounter issues during their projects. Addressing these common problems early saves time and materials.
- Thread Snapping During Weaving: If your thread keeps breaking as you pull it through tight seed bead holes, you are likely using too much tension or passing through the same bead too many times. Switch to a stronger braided line like FireLine, or use a smaller needle size (such as size 12).
- Gaps Visible in Stretch Bracelets: If your elastic bracelet shows gaps between beads, the elastic was either not pre-stretched before stringing or the knot slipped. Always pre-stretch elastic cord and use a secure multi-pass knot backed by jewelry adhesive.
- Peyote Stitch Curving Incorrectly: When working flat peyote stitch, the work naturally curves during the first few rows until tension and structure stabilize. If the curving persists, check that you are maintaining consistent tension and not skipping or adding accidental extra beads at the turns.
Frequently Asked Questions About Bead Crafts
What is the best thread for beginner bead weaving?
For off-loom seed bead stitching, nylon threads like Nymo (size B or D) or pre-waxed threads are traditional and easy to work with. For high-strength projects where threads pass through beads multiple times, braided polyethylene lines like FireLine (4lb or 6lb test) are exceptionally durable and resistant to needle fraying.
How do I prevent my stretch bracelets from breaking?
Avoid using cheap, rubber-band-style elastic, which degrades quickly when exposed to body oils, lotions, and sunlight. Instead, use professional-grade multi-filament stretch cord (such as Stretch Magic or professional silicone cords). Always pre-stretch the cord before stringing, tie a secure surgeon's knot, and reinforce the knot with a drop of specialized adhesive.
What is the difference between seed beads and cylinder beads?
Seed beads are manufactured by cutting glass tubes into short segments and tumbling them to round the edges, resulting in slightly irregular, organic shapes. Cylinder beads (such as Miyuki Delicas) are precision-cut with flat, parallel sides and large holes, allowing them to nest together tightly for a uniform, woven mosaic texture.
Can I mix different brands of seed beads in one project?
While you can mix brands, be cautious when combining different manufacturers within the same row of tight bead-weaving stitches. Japanese beads (Miyuki, Toho) tend to be highly uniform in size, whereas Czech seed beads feature more variation. Mixing them in precision stitches can cause the work to warp or ripple.
How should I store my beads and findings?
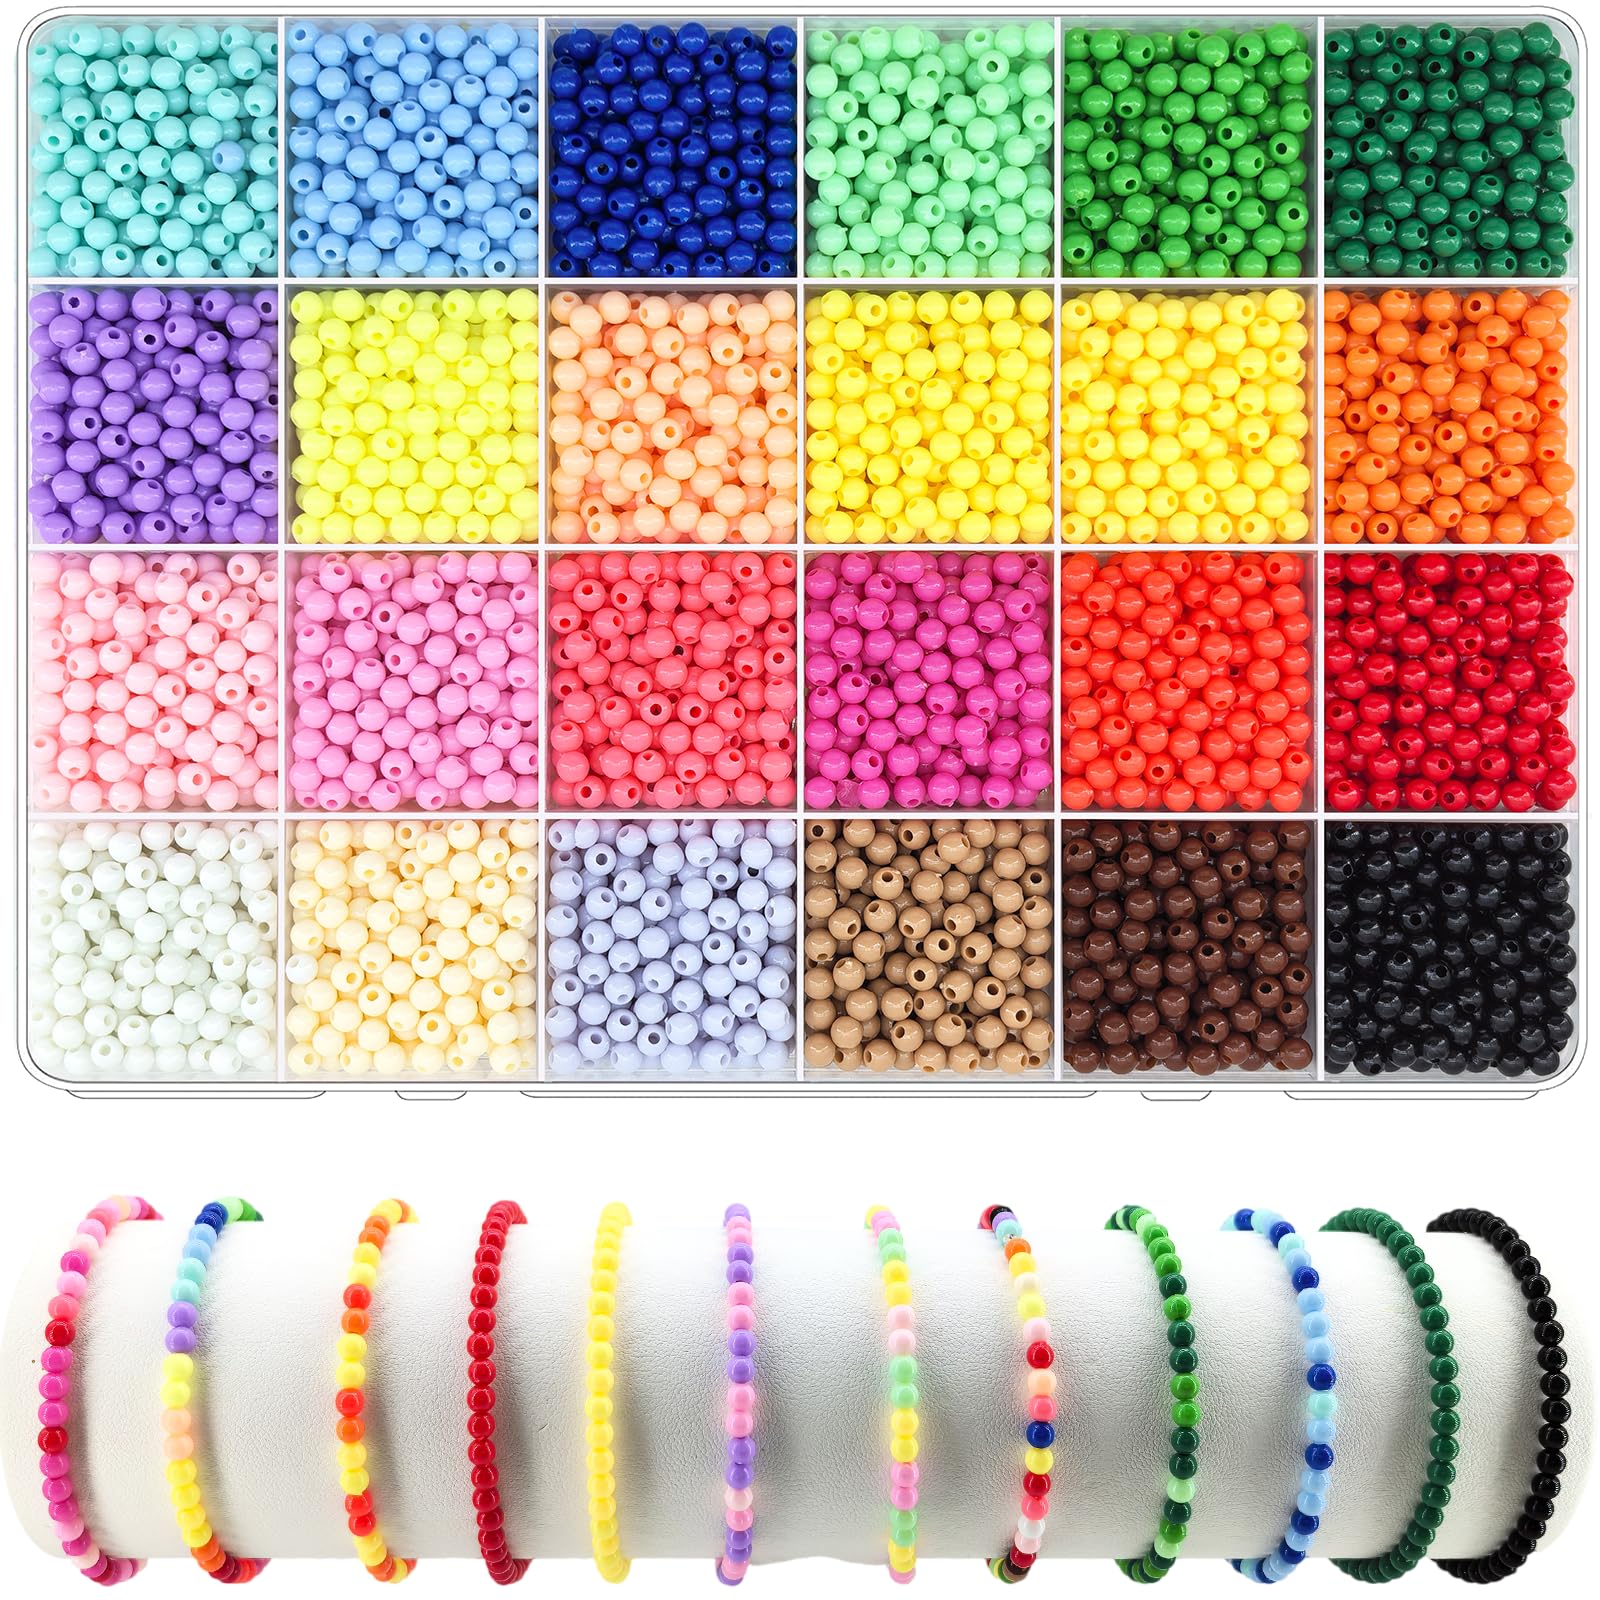
Store small seed beads and findings in clear, compartmentalized plastic organizer boxes or stackable jar towers. Label each container with the bead size, color code, and manufacturer if known. Keep gemstones and metals away from prolonged direct sunlight and moisture to prevent tarnishing or color fading.
Conclusion and Next Steps
Bead crafts offer a deeply rewarding intersection of historical technique and modern design. By mastering the fundamentals of material selection, proper stringing, and core weaving stitches, you can progress from simple elastic bracelets to museum-quality wearable art. Begin with a straightforward project using quality supplies, practice maintaining consistent thread tension, and gradually explore advanced stitches like herringbone or brick stitch as your confidence grows.